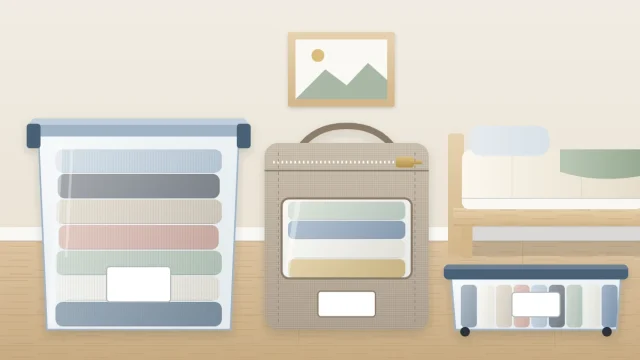
How to Label Closet Bins and Shelves
Labels tell everyone, including you in three months, where things go back. Follow seven steps to name, place and review labels on bins, shelf edges and hanging sections, with a comparison of label types.
At a glance
What you need
- Paper and pen for the list
- Masking tape and a marker for a trial
- Label holders, tags or adhesive labels
- Rod dividers for hanging sections
- Step stool for high shelves
A closet stays organized only while everyone who uses it remembers where things go. That includes you, three months from now, standing in front of six identical bins. When you label closet bins and shelves, the system stops depending on memory: the shelf itself says what belongs on it.
Labels matter most in three places: on opaque bins, on high shelves where you cannot see inside anything, and in closets shared with another person. The steps below take a settled closet and make it readable.
Why labels make a system stick
Most closets come undone at the moment of putting things back. With clean laundry in your arms, you choose the nearest gap. A label removes that small decision: the sweatshirts go where it says sweatshirts.
Labels also let other people help. A partner, a child or a guest can put laundry away correctly without asking, and can find a spare blanket without opening every container on the shelf.
Step by step: labeling a closet
- Finish sorting first. Label the settled system, not the plan. If categories are still moving between shelves, wait a week. The guide to setting up closet zones covers deciding what lives where.
- List every bin and shelf zone. Walk the closet from top to bottom and left to right, writing down each container and each stretch of shelf or rod that holds one category.
- Name each one. Give every item on the list a short, plain category name. The next section explains how to choose it.
- Pick a label type. One type per kind of surface keeps the closet looking calm. The table below compares the common options.
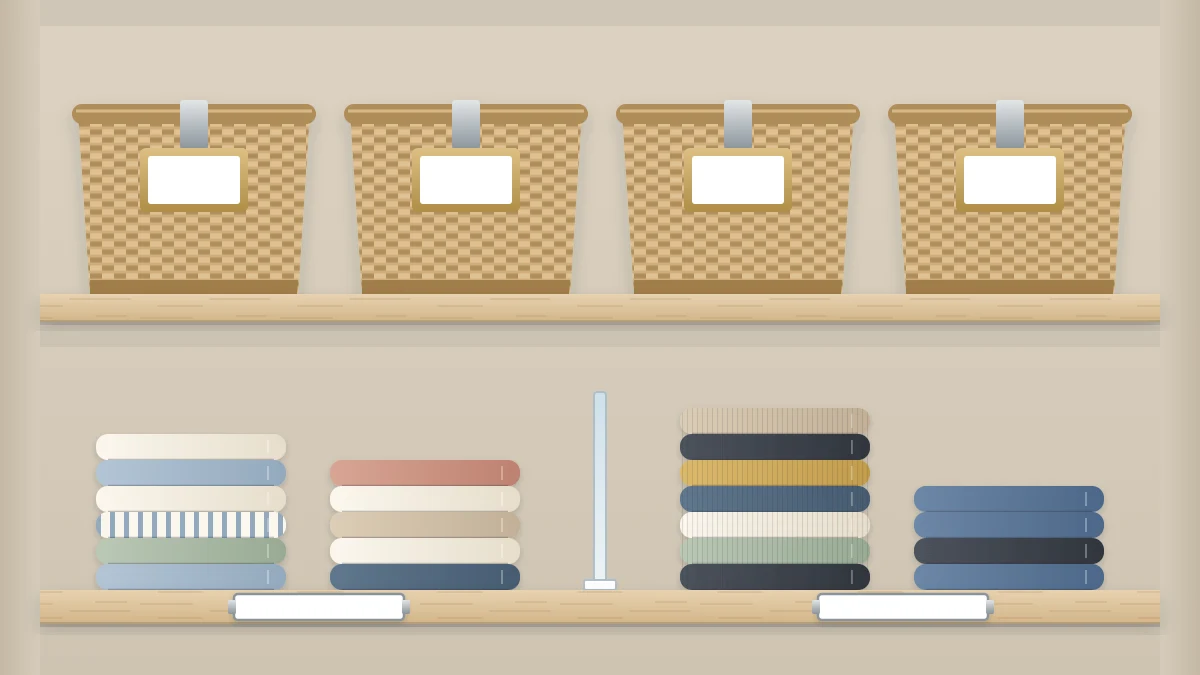
- Place labels where you see them from where you stand. That means the front face of bins, the front edge of shelves, and dividers on the rod for hanging sections.
- Keep the position consistent. Put every bin label at the same spot, for example centered near the top of the front, so your eye learns one place to look.
- Review after two weeks. Rename anything that was unclear, and move any label that people kept missing.
For a typical closet this takes well under an hour once the sorting is done, though the time depends on how many containers and zones you have.
Choose names you would say out loud
A good label uses the word you already use. If you call them “gym clothes”, the bin says gym clothes, not “activewear”. One or two words is usually enough.
Keep the wording broad enough that the bin does not need relabeling every month. “Winter accessories” survives a new pair of gloves and the loss of a scarf. “Gray wool scarf and two hats” is out of date within a season. If a bin’s contents cannot be named in a few words, the problem lies with the category, and the bin needs sorting before it needs a label.
Avoid “miscellaneous”. A bin with that name collects anything nobody wanted to decide about.
Label types compared
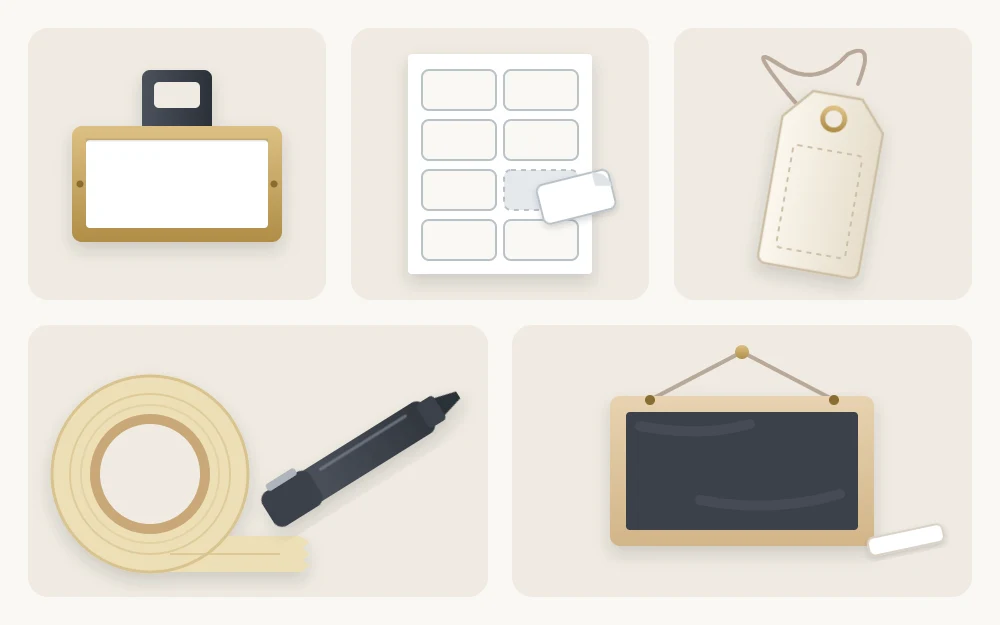
| Label type | Works well on | Easy to change? |
|---|---|---|
| Clip-on label holder | Fabric bins and baskets with a rim | Yes, swap the card |
| Adhesive label | Smooth plastic boxes, shelf edges | Only if sold as removable |
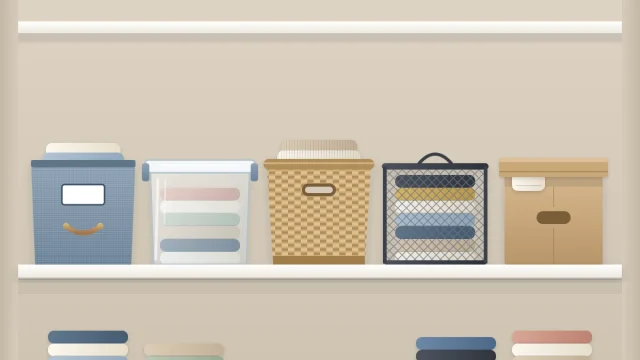
| Hang tag tied to a handle | Woven baskets, wire bins, garment bags | Yes, retie or rewrite |
| Label maker tape | Smooth surfaces, shelf edges | Peel and reprint |
| Chalk or erasable label | Bins whose contents change often | Yes, wipe and rewrite |
| Masking tape and a marker | Any surface, as a trial | Yes, peel off |
Adhesive does not grip textured fabric or woven fiber well, which is why holders and hang tags suit those bins. If you are still choosing containers, the guide to closet storage bins and baskets notes which kinds need a label most.
Tip
Start with masking tape and a marker on everything. After two weeks, make permanent labels only for the names that worked.
Where each label goes
Bins and boxes
Label the face that points out of the closet. On a high shelf, place the label low on the front of the bin, where you can read it from below. On a low shelf or the floor, place it high on the front or on the lid.
Shelves
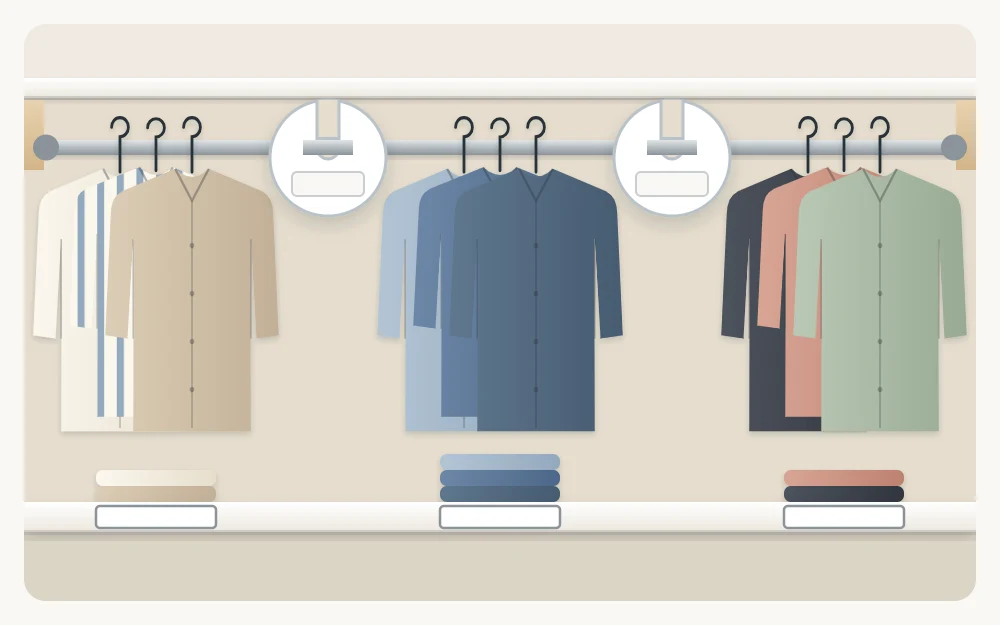
For open stacks of folded clothes, label the front edge of the shelf directly under each stack. This marks the boundary of the zone as well as its name, so a stack that has crept sideways is obvious.
Hanging sections
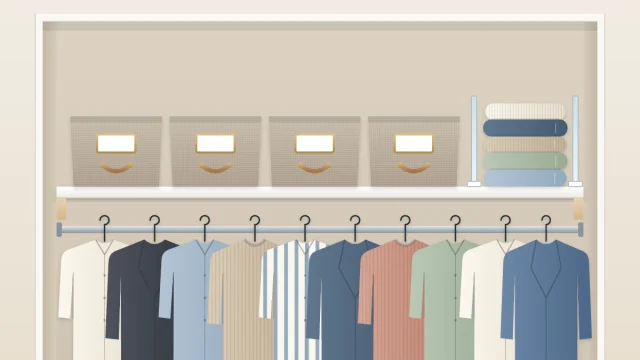
Rod dividers are discs or tags that sit on the hanging rod between groups of garments. They mark where shirts end and pants begin, and they hold that boundary when the rod is full.
Labels for seasons, children and shared closets
Use removable labels for anything that changes with the season. A bin that holds sweaters in summer and shorts in winter needs a card you can flip or a tag you can rewrite, not a permanent sticker.
For children, or anyone who does not yet read easily, add a simple picture or a color beside the word: a drawn sock on the sock bin, a blue dot for one child and a green dot for another. In a shared closet, a color per person on the shelf edge settles whose zone is whose.
Keep the labels true
A label that no longer matches its contents is worse than none, because people stop trusting all of them. When a category moves, move or rewrite its label the same day. A quick check of the labels fits naturally into a closet maintenance routine, at the point where you review each category at the change of season.
Frequently asked questions
What is the best way to label fabric bins?
Adhesive labels grip textured fabric poorly, so use a clip-on label holder on the rim or a hang tag tied to the handle. Both let you change the card when the contents change. Place the label on the front face, at the same position on every bin in the row.
What should I write on closet labels?
Write the short, plain name you would say out loud, usually one or two words. Keep it broad enough to survive small changes, such as a category plus a season, and avoid catch-all names. If you cannot name a bin's contents briefly, sort the bin again before labeling it.
Do I need to label clear bins?
Clear bins need labels less than opaque ones, but a label still helps on high shelves, where you see only the front edge from below, and in shared closets, where it tells other people what goes back in. A short name on the front is enough.