How to Organize a Closet Step by Step
The complete sequence for organizing a closet in ten short steps, from measuring and emptying one section at a time to assigning zones, refilling, containing small items and adjusting after two weeks.
At a glance
What you need
- Bags or boxes for outgoing items
- Soft cloth
- Vacuum
- Tape measure
- Paper and pencil
- A few bins or boxes you already own
Organizing a whole closet goes well when the steps happen in the right order, and badly when they do not. Most disappointing results come from starting at the end: buying bins and then trying to make the clothes fit them.
This guide sets out how to organize a closet from the first look to the final adjustment, as ten short steps. Each one is brief, and where a step deserves more detail there is a link to the guide that covers it.
What you need
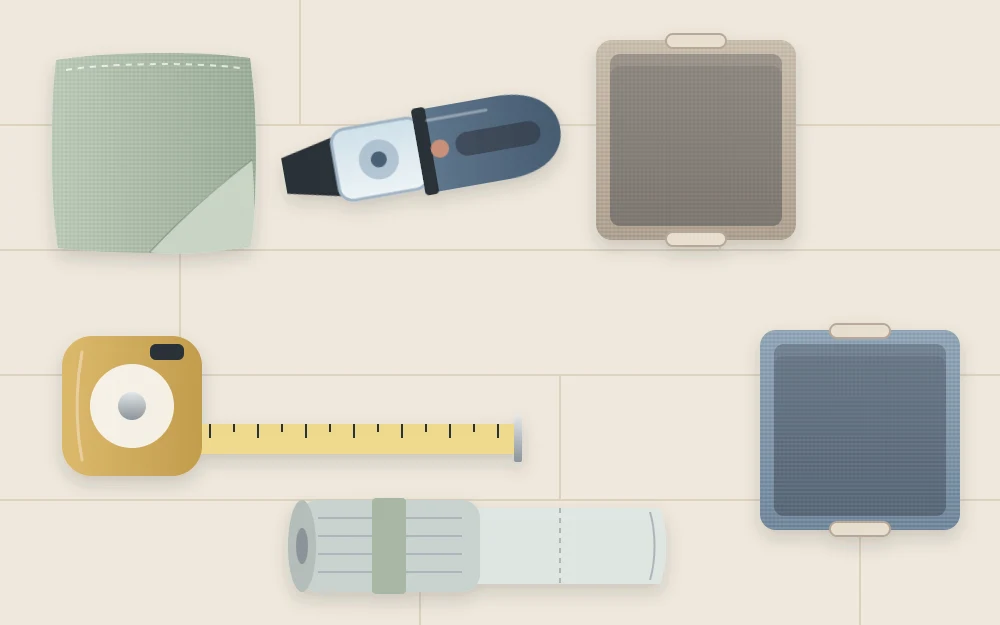
Nothing here has to be bought. Gather these before you begin:
- Bags or boxes for outgoing items
- A soft cloth
- A vacuum
- A tape measure, plus paper and a pencil
- A few bins or boxes you already own
Good to know
Containers are chosen after sorting and measuring, never before. Until you know what a shelf will hold and how deep it is, any bin you buy is a guess. Use what you have for now and note what is missing.
Steps 1 to 3: look, empty, reduce
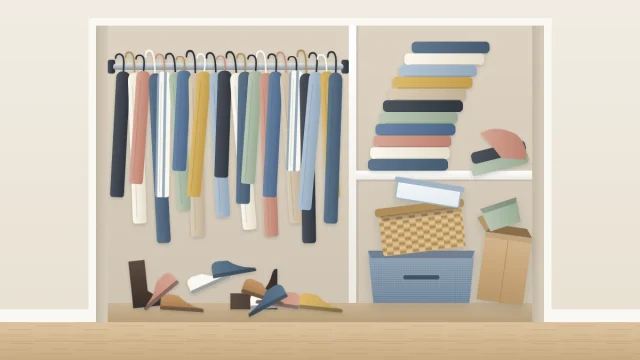
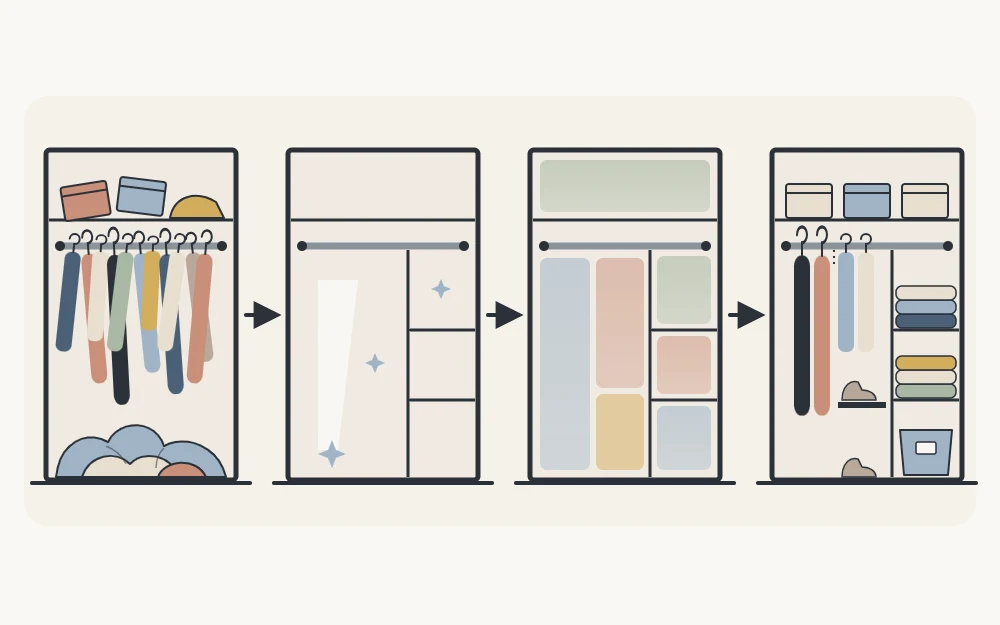
- Look at what the closet has to hold, and measure the space. Open the doors and take stock: roughly how much hangs, how much is folded, how many pairs of shoes, what else has crept in. Then measure the width, depth and height, the length of the rod and the depth of each shelf, and write the numbers down. The guide on how to measure a closet lists what to record.
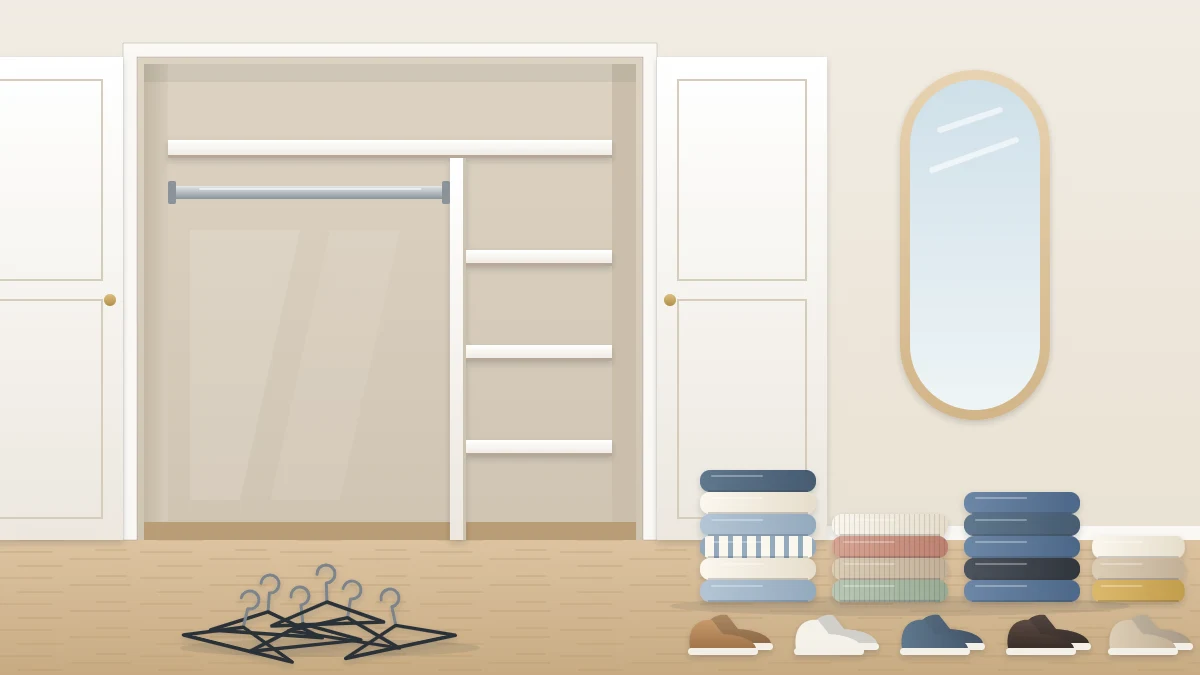
- Remove everything from one section at a time. Take everything off one shelf, or one end of the rod, or the floor, and lay it on the bed. Clearing section by section keeps the mess contained and lets you stop without leaving the room unusable.
- Declutter as you go. As each item comes out, decide whether it stays. Items that are leaving go straight into the outgoing bags. If you have not done this before, follow the method for decluttering a closet one category at a time and come back here afterward.
Steps 4 and 5: sort and clean
- Sort the keepers into categories. Put like with like on the bed: tops, pants, sweaters, exercise clothes, sleepwear, outerwear, shoes, accessories. Use the groups you naturally look for when you get dressed. The piles show you how much of each kind you have, which is the information the next steps depend on.
- Clean the empty closet. With the sections clear, dust the shelves and the rod with the cloth, wipe the baseboards and vacuum the floor, corners included. Let any damp surface dry fully before clothes go back. This is the one moment when every surface is easy to reach.
Steps 6 and 7: plan before anything goes back
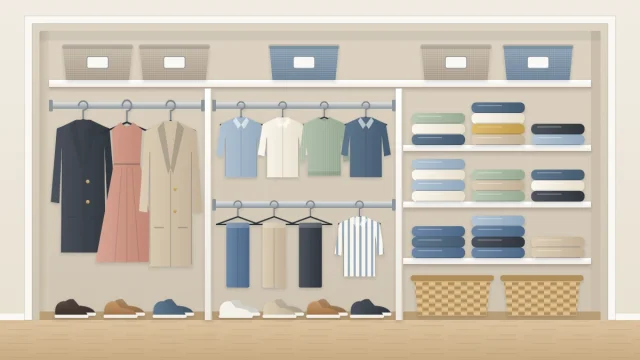
- Assign zones. A zone is an area that holds one category. Before returning a single item, decide which category gets which area, giving the easiest space to reach to the things you use most. Compare the size of each pile with the space you are giving it; if a pile is clearly too big for its zone, settle that now. The guide to planning closet zones explains how to place them.
- Decide hang or fold for each category. Make the choice per category, not per item, so that every piece of a kind is stored the same way. Garments that crease or have shaped shoulders generally go on hangers; knits and sturdy casual items generally fold. Check that the rod length and shelf space you measured can take what you have assigned to each.
It helps to sketch the closet on paper and write the categories into the sketch. A plan on paper is far easier to change than a full shelf.
Steps 8 and 9: refill and contain
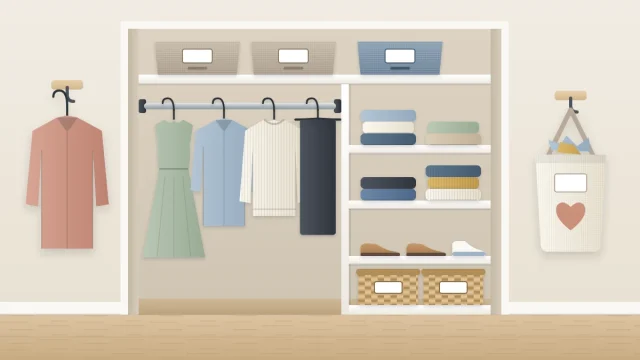
- Return items zone by zone, most used first. Start with the categories you reach for daily, so the best space goes to them. Hang garments facing the same way and keep each category together on the rod; the guide on organizing hanging clothes covers the arrangement. Place folded stacks low enough that you can lift one item out with one hand. Off-season and occasional items go in last, into the space that is left high up and at the back.
- Contain small and loose things, and label them. Whatever will not stack or hang, such as socks, belts, scarves and small accessories, goes into bins or between dividers. Use the containers you already own first. Label each bin so its contents are known without lifting it down. Now is the time to write a short list of any containers still missing, with the measurements they must fit.
Reach the upper shelf with a stable step stool used as its instructions describe, never a chair.
Step 10: use it, then adjust
- Stand back, use the closet for two weeks, and adjust. Look at the whole closet once it is full. Then live with it. After a couple of weeks you will know which zone is in the wrong place, which stack is too tall and which bin you never open. Move those and leave the rest.
Do not expect the first layout to be the final one. Small corrections after real use are a normal part of the job, not a sign that the plan was wrong.
If you run out of time
How long the full job takes depends on how much the closet holds; a small reach-in closet may be done in an afternoon, while a large or very full one can take several sessions. Because you are working one section at a time, running out of time is not a problem.
Finish the section you are in and stop. Put that section’s keepers back in their category, move the outgoing bags out of the room, and leave the untouched sections as they are. Next time, begin with step 2 on the next section.
Tip
Keep your measurements and your zone sketch together inside the closet door or in a drawer. You will want them again when you add a container or change a zone.
Frequently asked questions
What is the first step in organizing a closet?
Look at what the closet has to hold and measure the space. A quick count of what hangs, what folds and how many pairs of shoes there are, together with the rod length and shelf depths, tells you whether everything can fit and guides every later decision.
Should I buy bins before organizing my closet?
No. Choose containers after you have sorted, assigned zones and measured. Only then do you know how many small or loose items need containing and what size the bins must be to fit the shelf. Start with boxes you already own and list what is missing.
What if I cannot finish organizing the closet in one day?
Finish the section you are working on and stop there. Return that section's keepers to their category, take the outgoing bags out of the room and leave the remaining sections untouched. Working section by section means the closet stays usable between sessions.