Closet Organization for Beginners: Where to Start
A plain starting point for a messy closet: what an organized closet really is, what each part of the closet is good for, the five stages in the order that works, and a first session small enough to finish.
If you have never organized a closet properly, the hardest part is knowing where to begin. Closet organization for beginners is mostly a question of order: a few plain steps, done in the right sequence, on a piece of the closet small enough to finish.
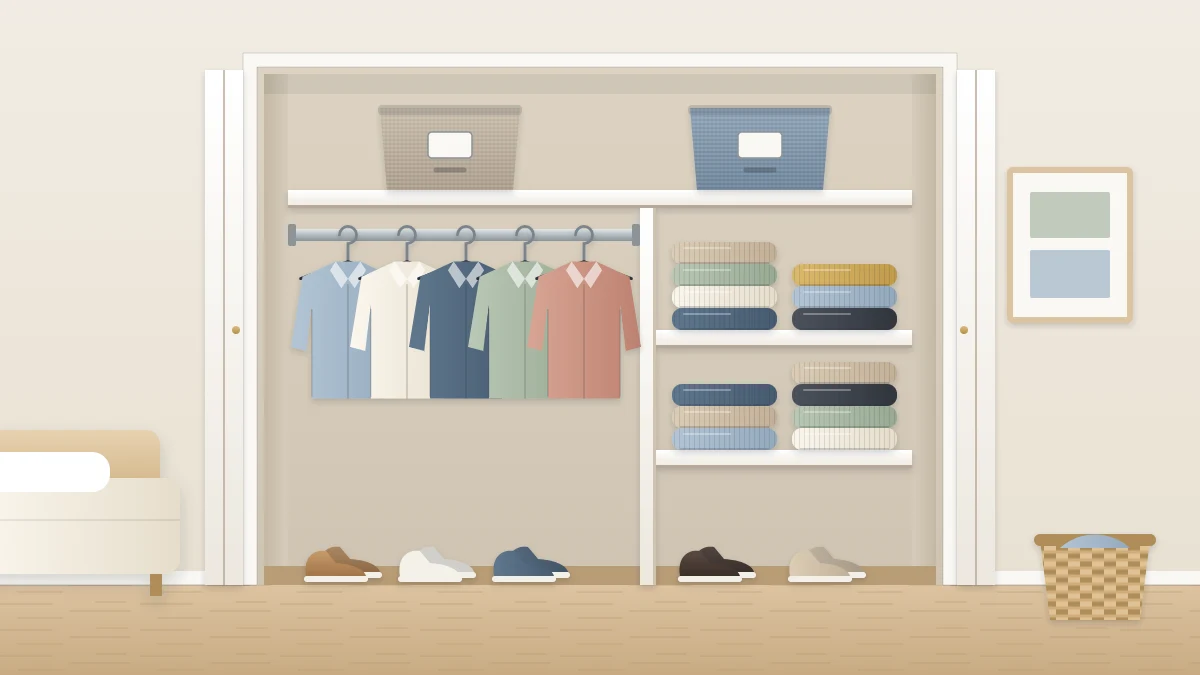
An organized closet is not a set of matching products. It is a closet where every category has one home, the things you use most are the easiest to reach, and putting something back takes no thought. Everything below works toward those three results.
What an organized closet actually is
It helps to have a test you can apply to your own closet, because a closet can look neat and still be hard to use. Ask three questions:
- Does each category have one home? A category is a kind of item, such as T-shirts, pants or belts. If T-shirts live in three places, none of them is the real place.
- Are the most used things the easiest to reach? What you take out every day should not sit behind or above what you take out twice a year.
- Is putting back as easy as taking out? If returning an item means moving two other things first, it will end up on a chair instead.
The parts of a closet and what each is good for
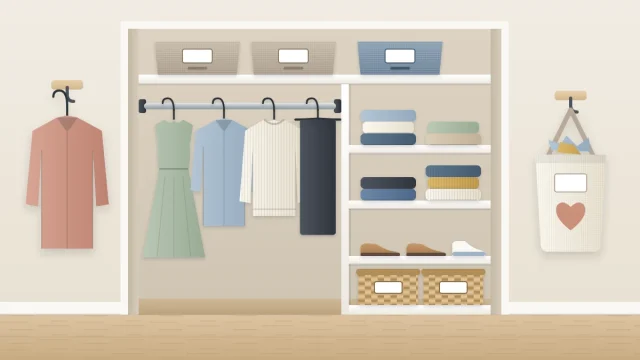
Closets differ in width, depth and what is already fitted inside, so look at yours before planning anything. Most have some version of these parts:
- Hanging rod. The rail that holds hangers. It suits garments that crease when folded or that keep their shape better on a hanger.
- Shelves. Flat surfaces for folded stacks, bins and shoes. Shelves at eye and chest height are the easiest to use.
- Upper shelf. The shelf above the rod. It is awkward to reach, which makes it a good place for things you need rarely, such as off-season clothes. Reach it with a stable step stool used as its instructions describe, never a chair.
- Floor. Easy to reach but easy to bury. It works for shoes on a low rack or for one or two bins, and badly as a general dumping ground.
- Door. The back of a hinged door can hold hooks or a pocket organizer. Anything that hangs on a door or fixes to a wall should be fitted and loaded as the product manufacturer’s instructions describe.
The order that works, and why
Most frustration comes from doing sensible things in the wrong order, usually by buying containers first. This sequence avoids that:
- Reduce what is in the closet. Every item you remove is one you no longer have to store, sort or move. A clear method for this is in the guide on how to declutter a closet step by step.
- Group what is left into categories. Put like with like so you can see how much of each kind you own. The size of each group tells you how much space it needs.
- Give each category a zone. A zone is an area of the closet for one category, placed by how often you use it. The guide to setting up closet zones explains how to choose them.
- Only then add containers. Once you know what goes where and have measured the space, you can tell whether a bin or divider is needed at all, and what size it must be.
- Keep it going with a short routine. A few minutes of putting things back each week does more than a large clear-out once a year.
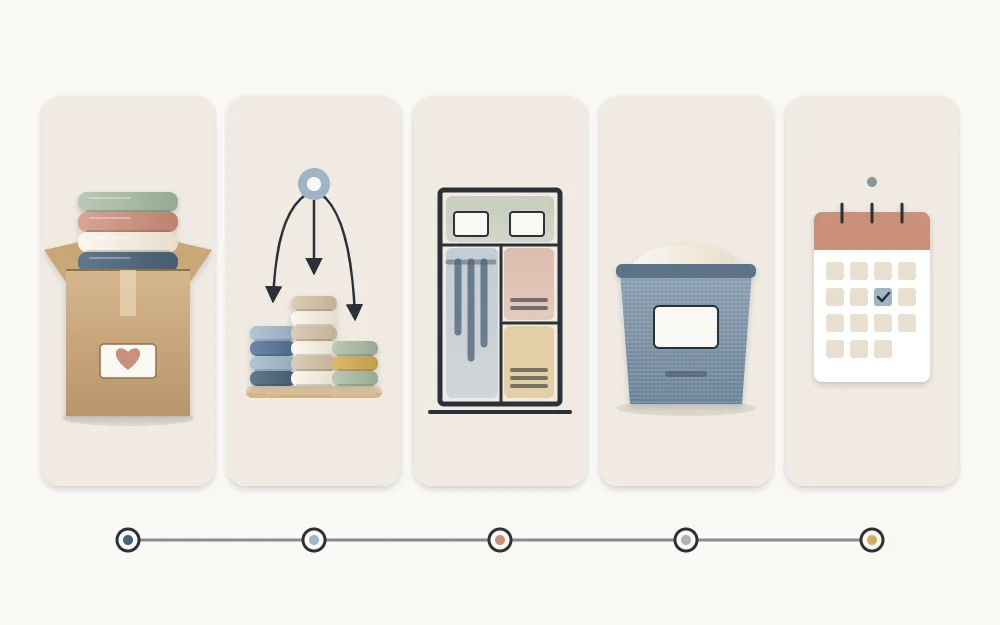
The reason for the order is simple. Each step makes the next one smaller. Sorting is quicker with fewer items, zones are easier to plan when you can see the size of each group, and containers bought after measuring fit both the shelf and the things inside them.
A sensible first session
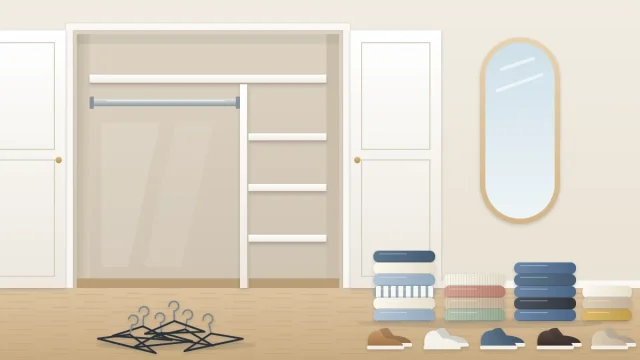
Do not empty the whole closet on your first attempt. A full clear-out covers the bed and the floor, and if you run out of time or energy you are left with a bigger mess than you started with.
Choose one of these instead:
- One category. Gather every pair of pants, or every T-shirt, from wherever they are and deal with only those.
- One section. Take everything off a single shelf, or the floor, or one end of the rod.
Decide what stays, group it, and put it back in one clear place. How long this takes depends on how much the section holds, but a single category is usually a job you can finish in one sitting. Finishing matters more than covering ground: one completed section shows you the method works and gives you a model for the next.
Tip
Start with a category you have few feelings about, such as socks or exercise clothes. Easy decisions build speed for the harder ones later.
What to expect along the way
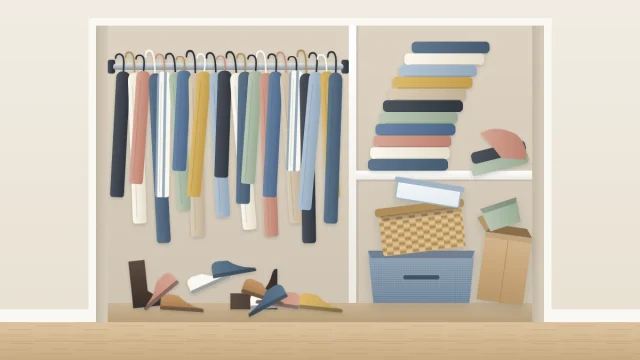
It looks worse before it looks better. The moment everything from a section is out on the bed is the low point, and it is normal. This is another reason to work in small sections: the worse-before-better stage stays small too.
Expect some second thoughts as well. Your first idea of where a category should live may not survive a week of real use. That is not a failure. Move the category and carry on; a closet is adjusted into shape more often than it is planned into shape.
Finally, expect the closet to hold less than you hoped. If a category will not fit its zone without cramming, the answer is fewer items or a different home for that category, not a tighter squeeze.
Where to go next
When you are ready to do the full job from start to finish, follow the complete sequence in the guide on how to organize a closet from empty to finished. It walks through each stage in order and tells you where to stop if a session runs short.
Before buying anything, it is also worth reading about the common closet organization mistakes, since most of them involve skipping one of the five stages above. Until then, pick one category, clear a surface, and begin there.
Frequently asked questions
Where should a beginner start when organizing a closet?
Start with one category or one section rather than the whole closet. Take those items out, decide what stays, group what is left and return it to a single clear place. A small finished section teaches the method and avoids being left with a room full of clothes when time runs out.
Do I need to buy organizers before I start?
No. Containers come fourth in the sequence, after reducing, grouping and assigning zones. Until you know what each area will hold and have measured the space, you cannot tell which containers you need or what size they should be. Many closets need far fewer than expected.
How long does it take to organize a closet for the first time?
It depends on how much the closet holds and how quickly you make decisions. A single category can often be finished in one sitting, while a full closet may take several sessions spread over days. Working section by section lets you stop cleanly whenever you need to.